1stwebdesigner |
| How to Build an Online Shop Using WooCommerce Posted: 17 Jun 2014 06:00 AM PDT Want to start your online store but don’t know how? It’s now easy to create one with WordPress and WooCommerce plugin. True, WordPress has been on the Web as a Content Management System for blogs. The most exciting part is, you can now do almost anything with it using premium and free plugins. Creating an online store to sell products is now just a few clicks away using Woocommerce. Since WordPress integrates seamlessly with WooCommerce, the former is taking your site capabilities to the next level. WooCommerce: Sell Anything BeautifullyWooCommerce is the most popular eCommerce plugin to utilize to create your online store in a few clicks. It is a feature-rich plugin of the eCommerce software of WooThemes, a company known for their great online business solution. In today’s tutorial, we’re going to create an online shop using this amazing plugin.
Resource you need to complete this tutorial
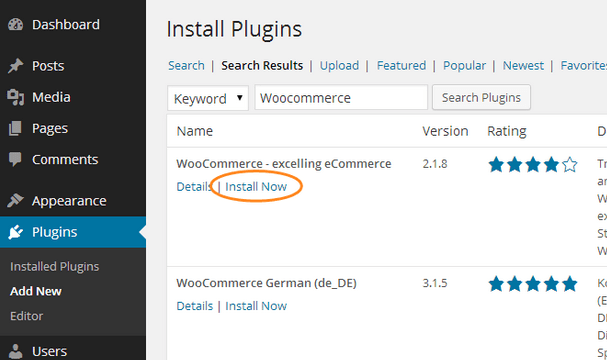
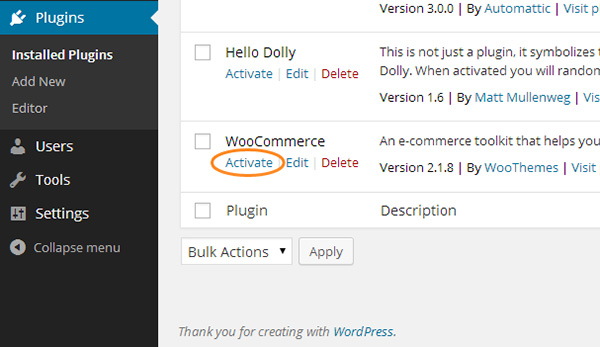
Installing WooCommerceYou can install WooCommerce from the WordPress plugin repository. To do this, go to your WordPress dashboard and then go to Plugins -> Add New. Next, search for WooCommerce plugin and when found, simply click the Install Now option. Once the installation is complete, activate the plugin by clicking on the Activate link.
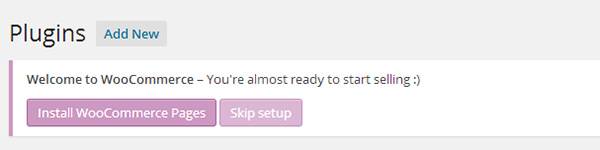
Once activated, the WooCommerce Settings page will be displayed at the top section of the dashboard that looks like a notification. This notification will require you to install pages.
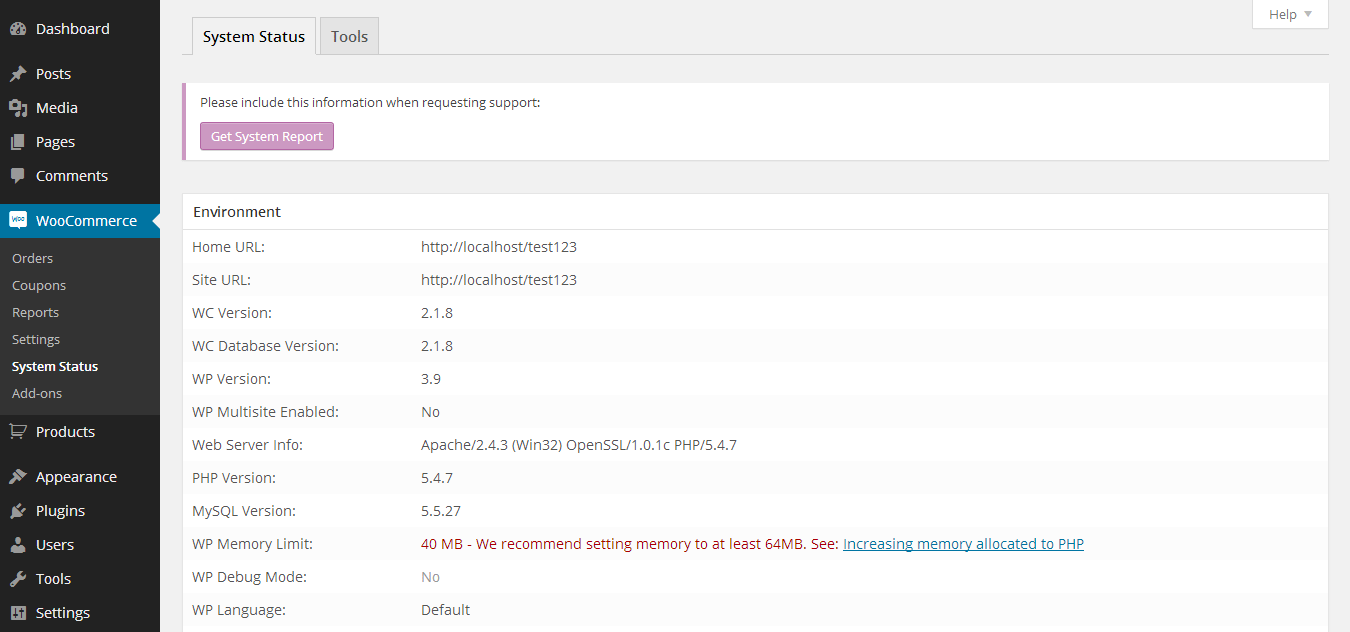
Click on the Install WooCommerce Pages button to create the necessary pages for the online shop to complete the WooCommerce plugin installation. System StatusChecking the system status will give you the information about the WordPress, PHP, and MySQL versions installed in your site and keep you from having further problems on your online shop. To check the system status of your site, go to WooCommerce -> System Status.
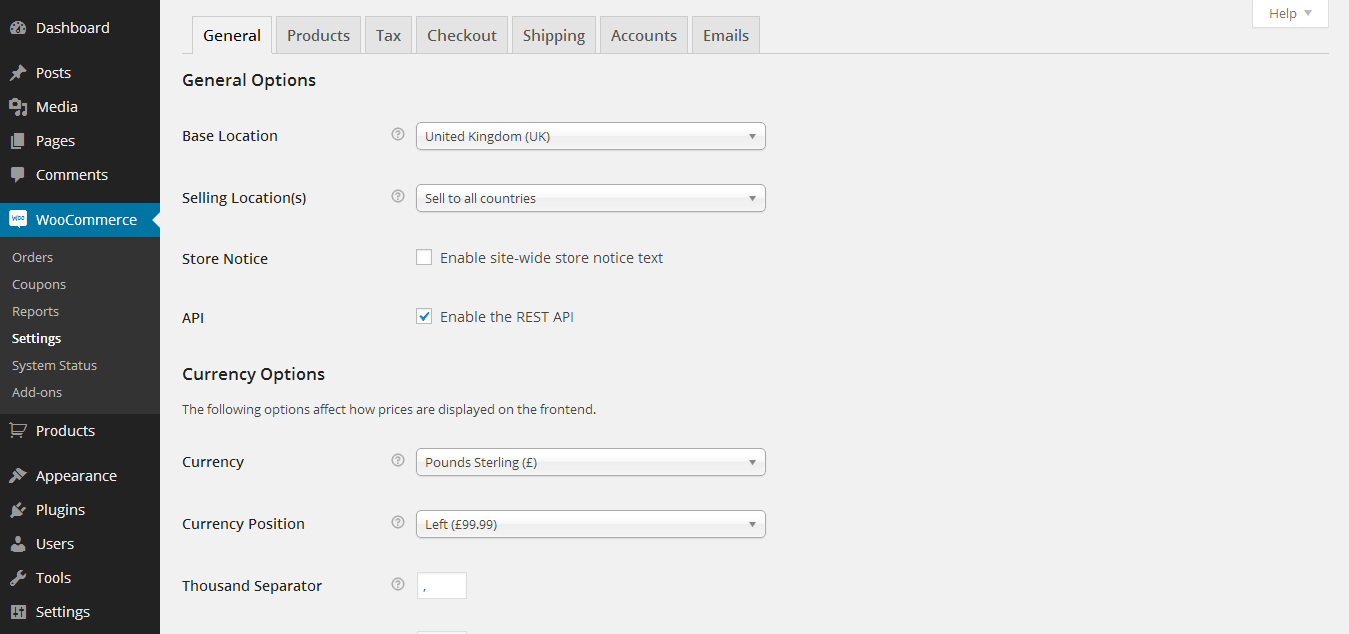
Configuring WooCommerce PluginNow that the plugin is installed and active, let’s configure WooCommerce plugin. Click on the WooCommerce tab on the left corner of the site and then click Settings.WooCommerce plugin comes with a variety of settings for a specific part of your online shop. General Settings
On this tab, you can set up the basic configuration for your online shop. You can set up particulars like:
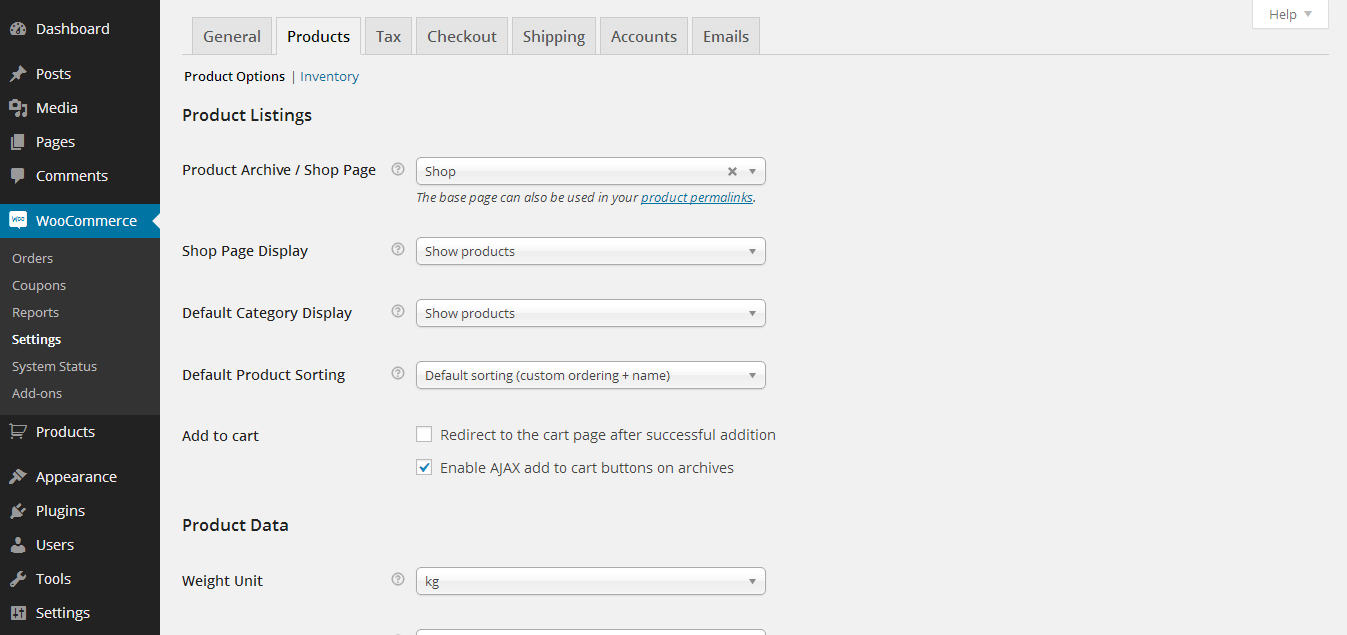
Product Settings
This section allows you to configure the way your products are displayed in your store. You can configure particulars like:
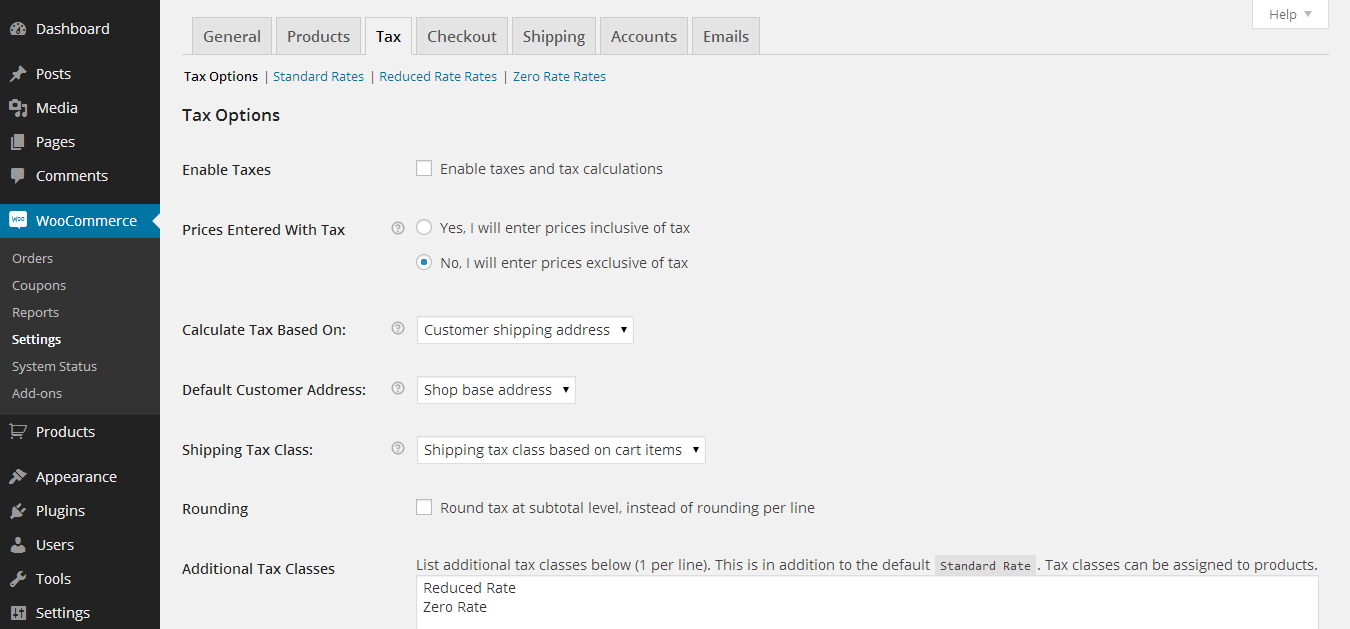
Tax Settings
For this tab, you can configure the tax options for your online store. Although the tax settings are disabled by default, once you enables, these give you options to configure for the following particulars.
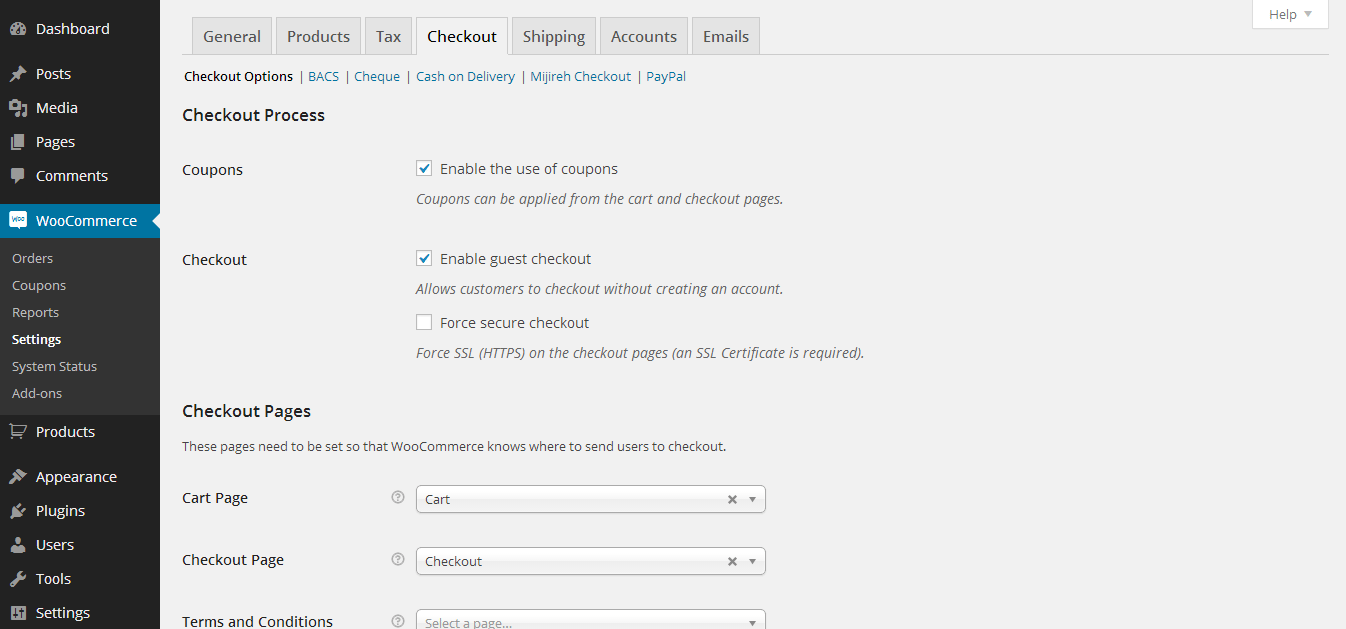
Checkout Settings
For this tab, you can customize the options for checkout. It displays the information for specific payment options which includes the following:
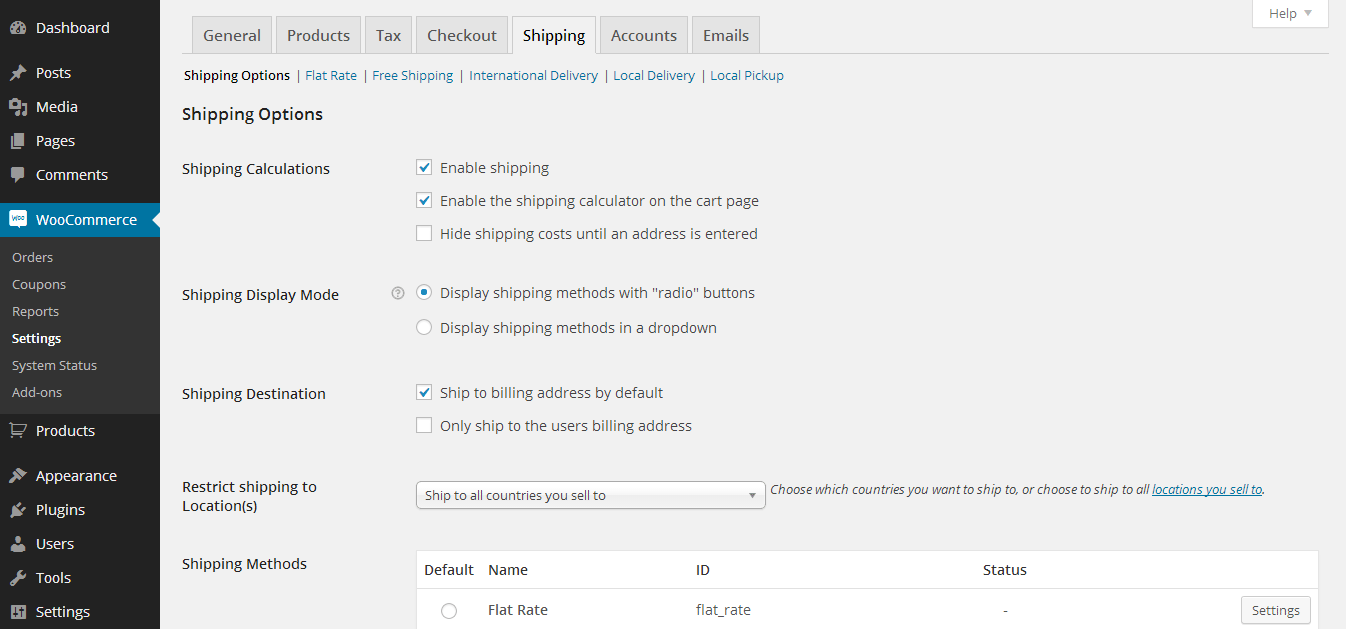
Shipping Settings
The Shipping tab provides you options to set up several shopping options available to your customers. This includes the following options:
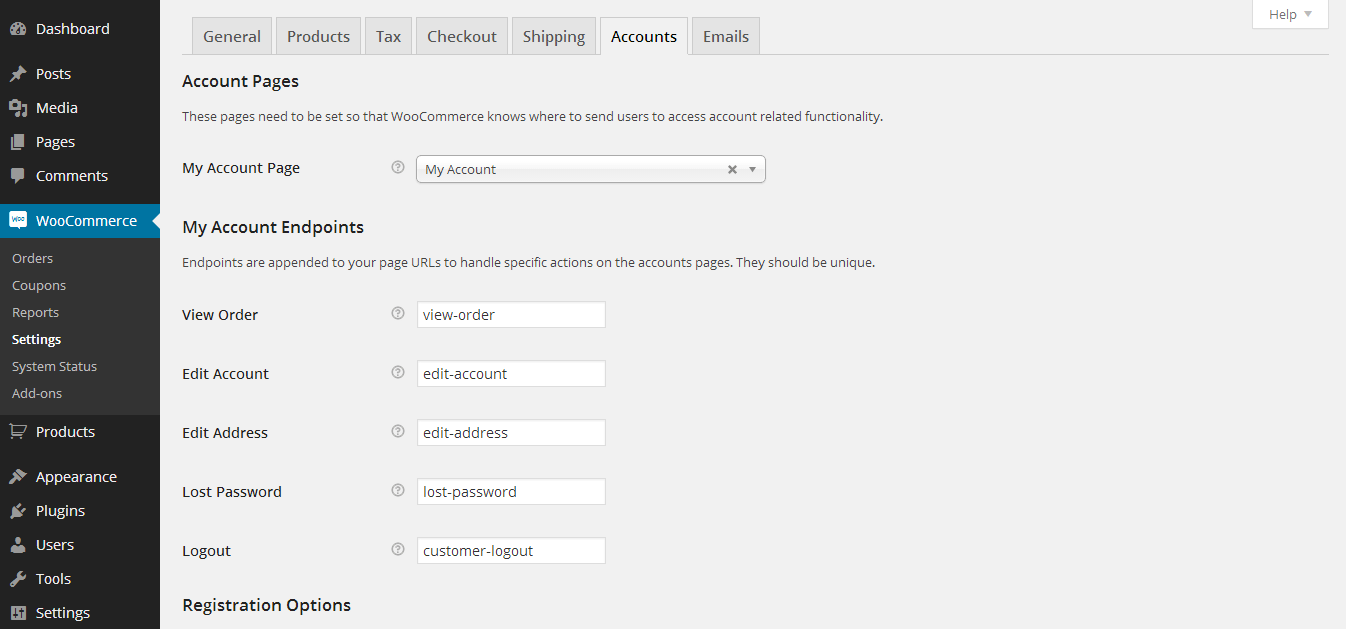
Account Settings
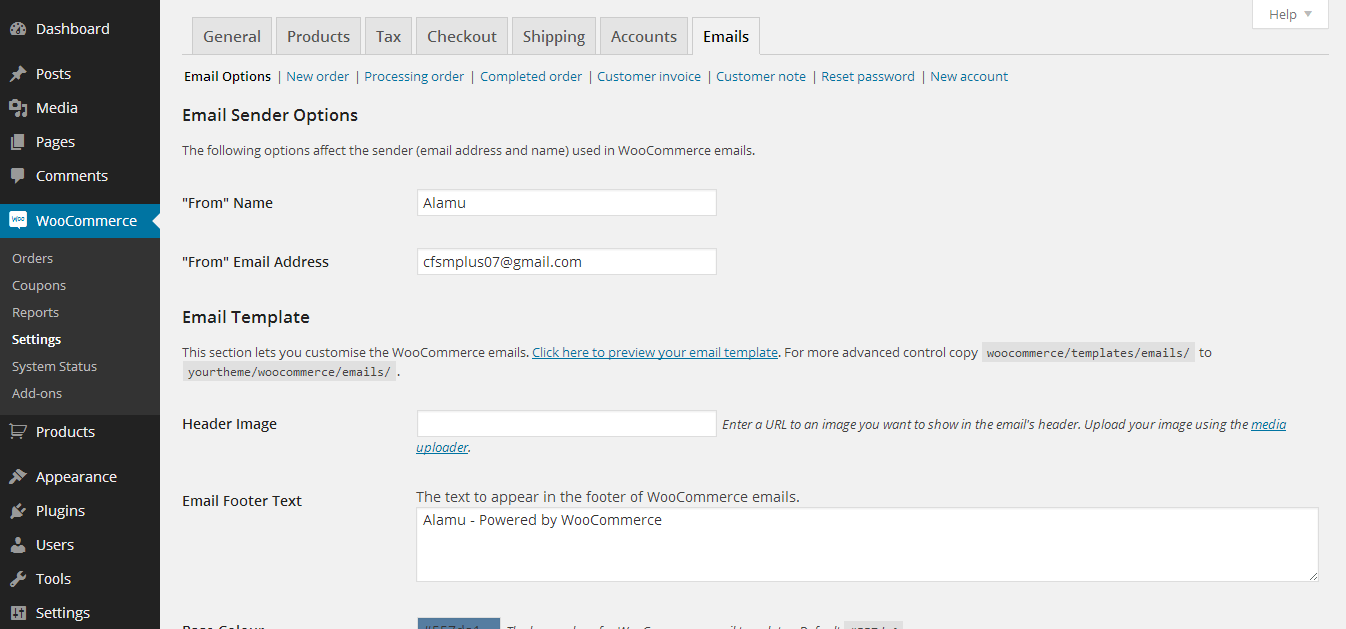
Email Settings
This tab lets you configure the email options and email templates used when having transactions with your customers. You can configure the following options:
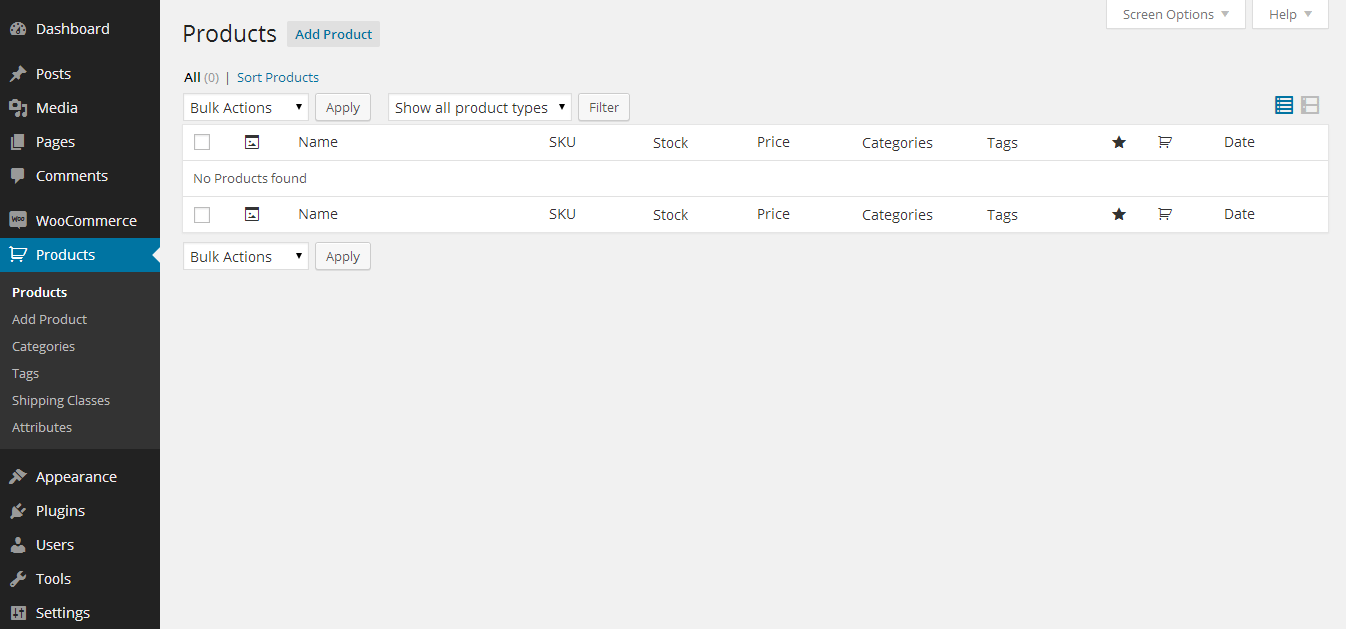
Adding, Updating and Deleting Products
Now that we’re done setting up the WooCommerce configuration, let’s add products to the site. To do this, go to Product on the left side of the admin menu and then click Add Product. Adding, updating and deleting WooCommerce products, category, tags, shipping classes and attributes is just like adding posts and category in a WordPress site blog. To complete the addition of products, you just need to put the details for the products, select the category and click the Publish button. Coupons
This part of the WooCommerce plugin shows all coupon codes or discount codes for a particular product. To view, add, update or delete all coupons, go to WooCommerce admin menu -> Coupons. Order
This page enables you to view all orders from the customers and modify specific information for a particular product order. To view all orders, go to WooCommerce admin menu -> Orders. Reports
Once your store is live and sells some products, it's a great thing to see the reporting function of WooCommerce. To check this, you can go to WooCommerce admin menu -> Reports. This will display the daily and monthly report sales as well as the reports on the discount coupon use for various reports. Online Store In Just Few ClicksThere you have it. You already know how to create your own online store. It’s easy, right? WooCommerce is a great and comprehensive option to create your online store with WordPress. There are many e-commerce solutions for WordPress out there but this plugin is the best and it's free. Want to learn more about how to customize WordPress to earn $300 this weekend or more? Check out our First Steps Course or our All Access Membership at 1WD.tv! What are your thoughts about this plugin? We want to hear from you! Let us know in the comments below! |


| You are subscribed to email updates from 1stwebdesigner To stop receiving these emails, you may unsubscribe now. | Email delivery powered by Google |
| Google Inc., 20 West Kinzie, Chicago IL USA 60610 | |
No comments:
Post a Comment